If you are adding a new email address to your existing configuration, follow these steps:
Click on Tools -> Options
Select the Mail Setup tab and click on the Email Accounts button

When this menu pops up:
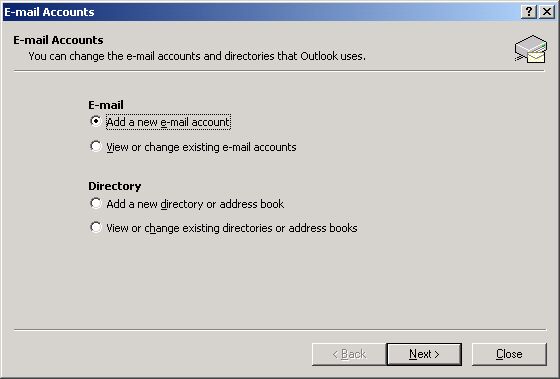
Select Add a new e-mail account and click on Next.
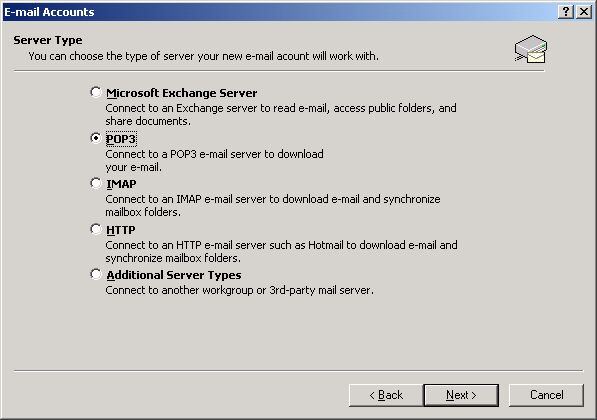
Select POP3 and click on Next.
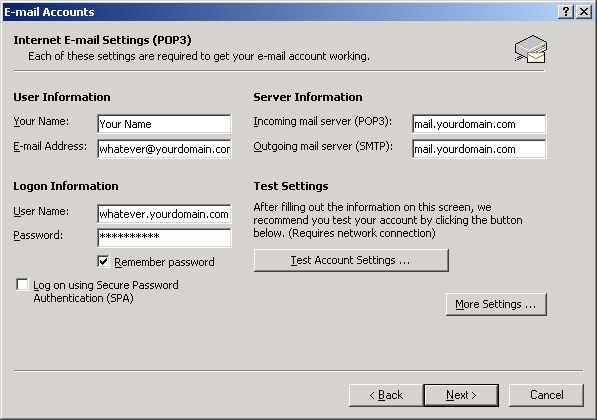

Enter the information similar to what you see above:
Your Name: Whatever you would like your display name to be (ie. John Doe)
E-Mail Address: This should have the new username you just created followed by your domain name (ie. whatever@yourdomain.com).
Incoming mail server (POP3): should always be mail, followed by your domain name (ie. mail.mydomain.com).
Outgoing mail server (SMTP): should always be mail, followed by your domain name (ie. mail.mydomain.com).
User Name: This should be similar to your email address except between the username and domain a period (.) is used instead of the @ symbol (ie. Whatever.yourdomain.com) However you can also simply put your Email Address in this field.